
Using Object Buffers in Cinema 4D makes it easy to create masks and track mattes for individual objects. Haven't heard of object buffers? What you can do is use the Compositing Tag to assign an object buffer to individual 3D objects, then when you render out a multi-pass render, you'll also render out a black and white version of the frame, with the selected object in white.
What's the point of that? Well, you can use this as a selection in Photoshop or as a Track Matte in After Effects. This way, you can add adjustments to individual elements of an animation wihtout needing to rotoscope or mask out the object. This can also be a huge time saver if you need to make an adjustment after you've already rendered the project.

An example of a 3D Render, rendered out as a PNG sequence from Cinema 4D

A corresponding Multi-Pass render with an Object Buffer set to the word "object"
Want to greatly improve your 3D Renders?
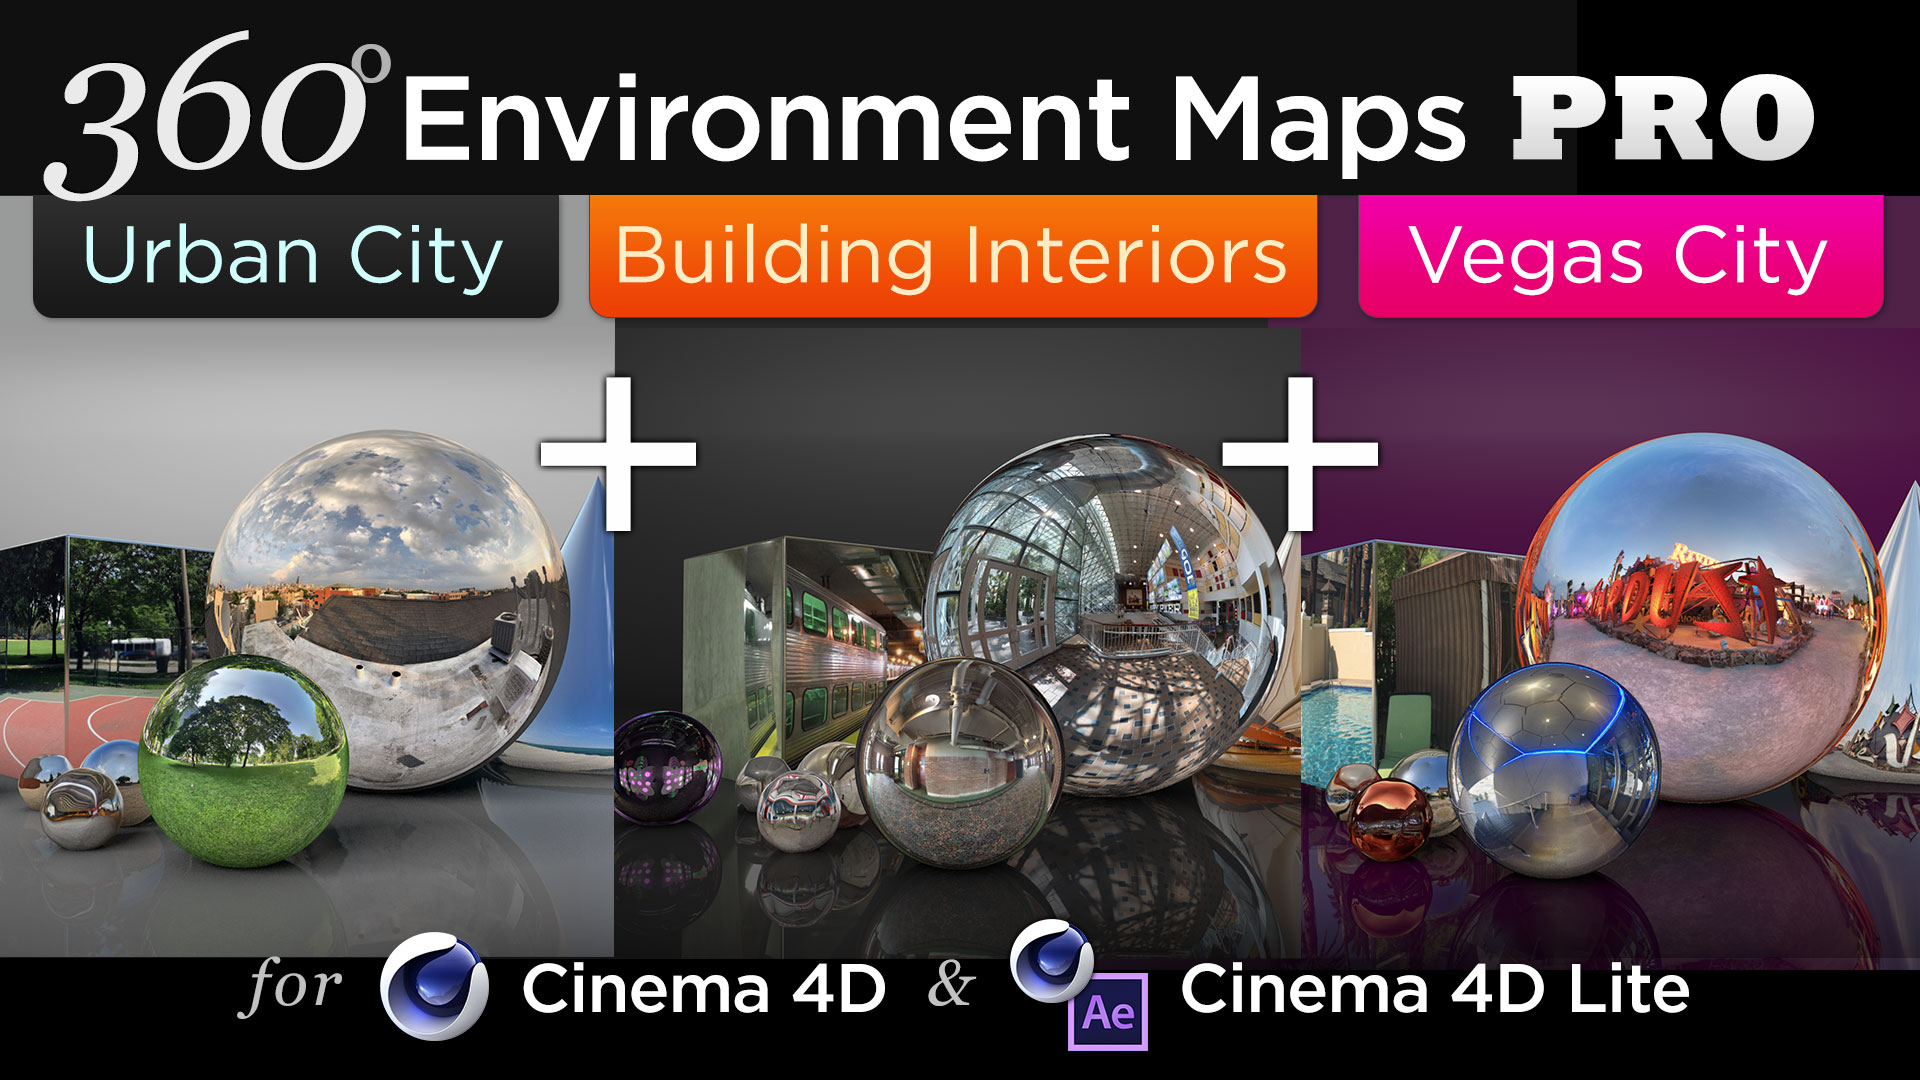
Check out 360° Environment Maps Pro for Cinema 4D

Like this tutorial? Consider becoming a Patron at Patreon.com/SeanFrangella to get additional benefits such as project files and more!
To get weekly Motion Graphics, VFX, and 3D animation tutorials be sure to subscribe to the show on YouTube!
Looking for the next Tutorial to watch?
Check out the Top 5 Features of Element 3D V2 for After Effects!
Learn about the new 3D Character Creator app, Adobe Fuse!
Learn about the Top 5 new features of Cinema 4D R17!
Learn the Top 5 After Effects Expressions!
Learn how to Recreate the Agengers: Age of Ultron 3D Title Animation!
See how to Combine Element 3D with the new Saber Plug-in!
Learn about the Top 5 Hidden Features of Illustrator CC!
See how to bring Animated 3D Characters into Element 3D!
To check out new features added to Cinema 4D R16!
Check out the Top 5 Tips for Better Camera Animation in After Effects!